레이블이 Main Dish인 게시물을 표시합니다. 모든 게시물 표시

2010년 12월 19일 일요일

Bokeum Bap - Fried Rice - (볶음밥)

Finally...nothing special, but here you go.


_MG_9498
Whenever I make fried rice, I dig through my fridge and try to add as many vegetables as possible. Today I added about 1 cup each of onions, potatoes, celery, carrots, edamame beans, squash, and corn.


_MG_9500
Add 2TB of sesame oil, 2 Tb oil, and 1 TB minced garlic to a large wok and turn up the heat.


_MG_9501
I'm sure you've noticed that we are a pro-Spam household. I added about 1/2 a can, but you can easily substitute the Spam for regular beef, chicken or shrimp.


_MG_9502
First add your carrots and potatoes and cook for about 5 minutes until the potatoes are almost done.

_MG_9503
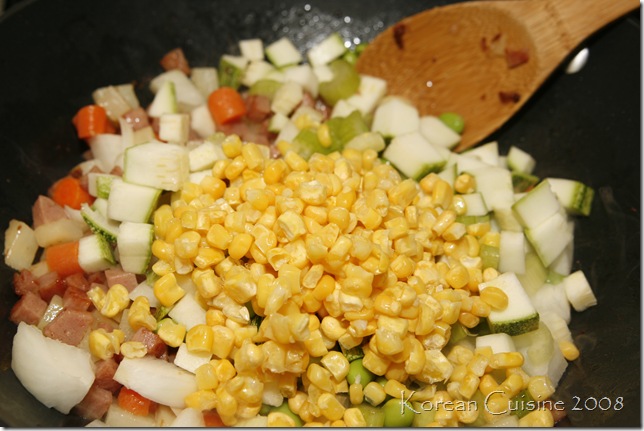
Then add the rest of your vegetables.


_MG_9504
Then add 2 TB light soy sauce (gook ganjang) and 2 TB soy sauce and mix it well.


_MG_9505
Eyeball it and add roughly half as much rice as the veggies.


_MG_9506
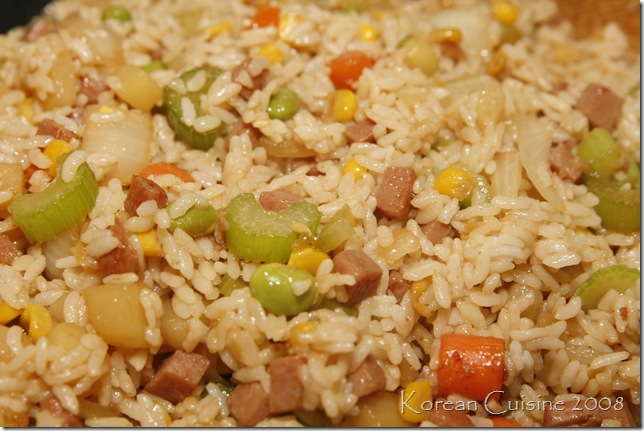
Keep stirring on medium heat until all the vegetables are done (about 10 minutes).
_MG_9507
It looks delicious, no? You can substitute the SPAM for any other meat or you can even skip the meat altogether.


_MG_9510
You're now ready to serve! You can add egg to it if you wish, but with this version of fried rice, I prefer it without egg.


_MG_9513 _MG_9514
In case you're wondering why I make so much fried rice at once~

I actually store them in these Ziploc containers and then freeze them. They're single servings and can be reheated in the microwave. Heat on high for about 2 minutes with the lid slightly loose. Then mix it around a bit and heat on high for an additional 2 minutes and you've got instant fried rice. =P It tastes surprisingly good and fresh.

I told you I don't COOK often. This is a perfect cheat meal.

Persian Meatballs...

Sorry for the lack of updates again. We've been eating out almost every day this week. I haven't stepped into the kitchen except to make Munchkin some grilled cheese sandwiches. We're going grocery shopping tomorrow, so hopefully I will think of a new post for next week.

Until then....


I will cheat by recycling another post on my other blog~


Get 1 LB. of ground beef and add generous amounts of parsley, mint (lots), cilantro (just a little), garlic and onions. Season it with a dash of salt and pepper. Sorry there are no exact measurements. Just add enough of everything to give the meatballs color like shown above.


Form into little meatballs about an inch in diameter.


Heat a skillet with minimal oil since there will be oil coming from the fat of the meat...


And just cook until done.


Plate it with basmati rice, lavash (flat bread), and some yummy cucumber yogurt!

Cucumber yogurt: Just get plain yogurt and chop some Persian cucumbers and squeeze out all the excess juice. Add it to the yogurt and season with salt, pepper, and lemon juice. I actually added some chopped parsley into the yogurt too and it came out yummy. Next time I'm going to make yogurt with shallots and garlic.


Basmati rice: I like to sautee the rice in LOADS of butter and I add small bits of onion and brown everything. Then I add water (2:1 ratio. 2 parts water to 1 part rice. I use about 1.5 cups rice to 3 cups water) and let boil...when the water is almost all gone, reduce the heat to LOW and cover and let simmer for about 20 minutes until the rice is done. You can even season it with saffron water...which I didn't have the time to do tonight.

2010년 12월 17일 금요일

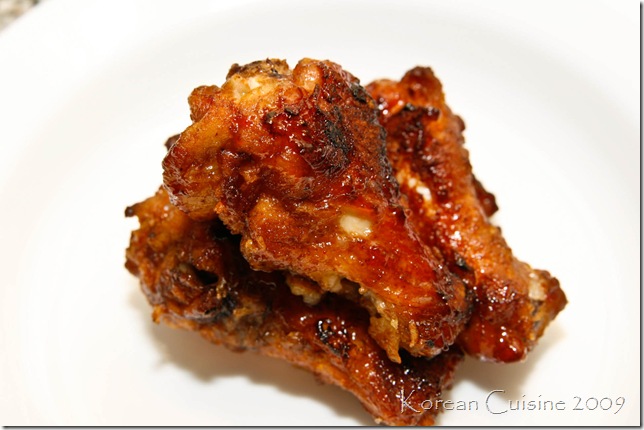
Spicy Chicken Drummettes - Korean Style - (매운 닭날개)

I finally went to the grocery store today! It was my first time going without the MR since the whole cancer thing. Of course Munchkin joined me today so I took the time to stop by the mall and do some shopping as well. Things are slowly going back to normal...

I try and only serve fried foods once every two months or so. I figured it's been a while, so I went out and bought some chicken wings for both Munchkin and the MR.

Things needed:
  • 2 lbs. chicken wings (at the K-market, they sell only the drummette portion which I like to get)
  • 1/2 cup corn starch
  • 1/2 cup tempura powder
  • 3/4 cup water
  • 1 TSP pepper, 1 TSP onion powder, 1 TSP ginger powder
  • Sauce: 2 TB rice wine, 1.5 TB vinegar, 1 TB red pepper oil, 1 TB pure honey, 2 TB gook ganjang, 2 TB red pepper paste, 2 TB sugar, 2 TB corn syrup

_MG_1082_MG_1086
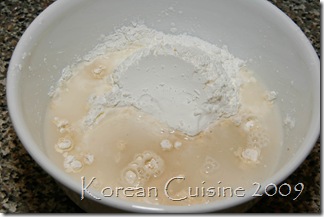
In a bowl add 1/2 cup corn starch, 1/2 cup tempura powder, and 3/4 cup water.


_MG_1088
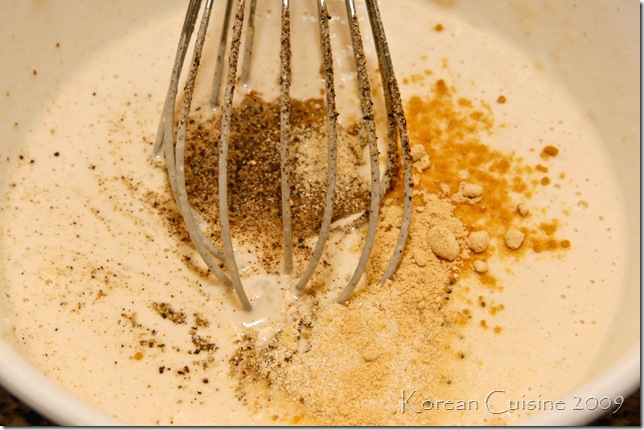
Mix it well and add 1 TSP black pepper, 1 TSP ginger powder, and 1 TSP onion powder.


_MG_1089
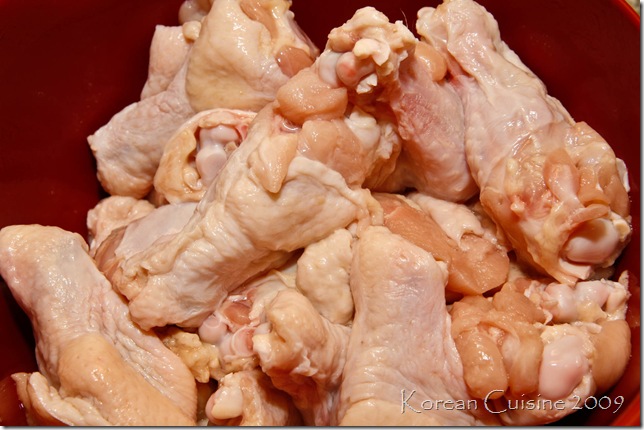
Meanwhile wash and clean the chicken wings.


_MG_1091
Add the mixture to the chicken and coat each piece thoroughly like so.


_MG_1093
Heat a pot of oil. I just let it sit on high heat for about 20 minutes. MAKE SURE IT'S HOT!


_MG_1094
Add however many chicken wings will fit in at a time and let it fry. I ended up having to do four separate batches.


_MG_1095
Fry it until it's nice and golden brown and then set the chicken pieces on a baking sheet.


_MG_1097
Get the sauce mixture ready. Mix together the following: 2 TB rice wine, 1.5 TB vinegar, 1 TB red pepper oil, 1 TB pure honey, 2 TB gook ganjang, 2 TB red pepper paste, 2 TB sugar, 2 TB corn syrup


_MG_1100
After you're done frying all the chicken pieces and they have cooled down a bit...


_MG_1102
Throw the chicken into the mixture and make sure to coat each piece really well.


_MG_1103
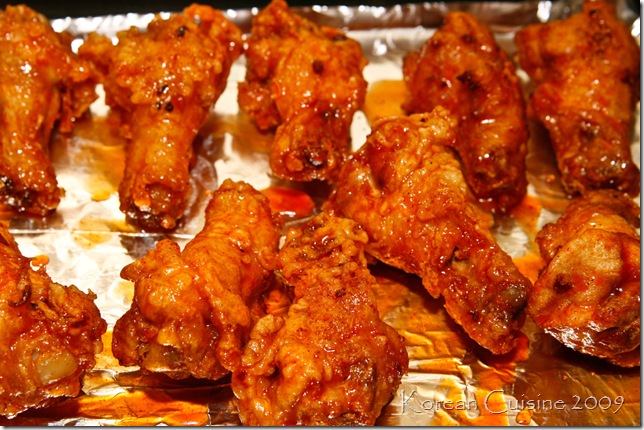
Place them back onto the baking pan and pop it into the oven at 375 degrees for about 25 minutes. About halfway through, make sure to flip over the chicken pieces to ensure even cooking.


_MG_1106
You're now ready to serve and enjoy!!! I know I should not have eaten it, but I had to do a taste test on ONE piece. =P

Chicken Gizzard Stir-fry - Dak Ddong Jjip - (닭똥집 볶음)

Our lives have been so busy these last two weeks now that Munchkin is officially a Kindergartener. I know it’s such a cliché, but it seriously seems like just yesterday that he was born and look at him now - all grown up and going to school to LEARN. Munchkin has been in preschool since he was 2.5 years old, so this adjustment has been pretty easy for him…so far. He’s bringing home homework, making new friends and just growing up at lightening speed.


INGREDIENTS:

  • 1 CUP chicken gizzard
  • 1 TB sesame oil
  • 1 TB mince garlic
  • dash of salt and pepper
  • 1/2 onion, 1 jalapeno, and 2 whole garlic bulbs (or a handful of cloves)

IMG_7199

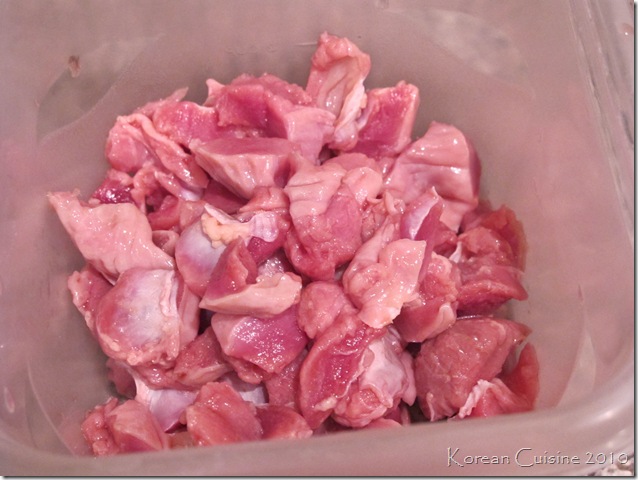
The MR and I happened to be at Seafood City today and I saw that the chicken gizzards looked pretty fresh, so I picked up a package and was determined to make dak-ddong-jip for the MR. This dish is more of an *appetizer* for beer or soju than it is an entree. This package was about 1.5 LBS and I divided it up and froze the portions I wasn’t going to use. Only the MR and I would eat this, so I only used about 1 CUP of chicken gizzard.

IMG_7200

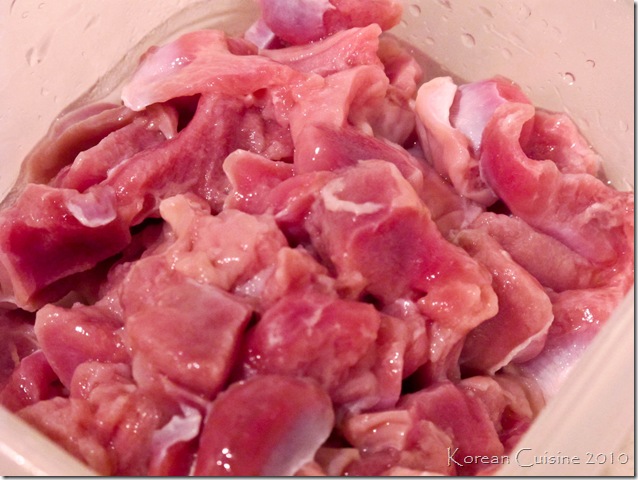
Take your cup of chicken gizzard and begin by cutting away the little white parts. You don’t *HAVE* to do this, but that part is pretty tough and I prefer to just remove it. I also like cutting up the gizzards into smaller pieces because I want them to be extra crispy when fried later.

IMG_7202IMG_7203

After you’ve cut up the gizzards, throw in a handful of flour and salt and scrub away. My mom tells me this is to get rid of all the gunk in the gizzards. Afterwards, make sure to rinse numerous times under cool water.

IMG_7204

Rinse the gizzards until the water runs CLEAR and bring a pot of water to a boil…

IMG_7201IMG_7205

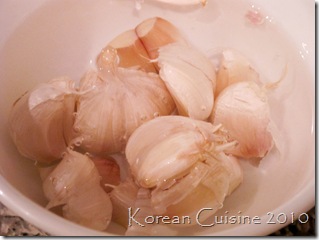
While waiting for the water to boil, go and grab your garlic bulbs and start peeling away.

IMG_7207IMG_7210

When the water boils, add the gizzards and let it boil for about 5-7 minutes. This will help rid of the impurities.

IMG_7209

While the gizzard is boiling, ready the remainder of your vegetables. Slice up half an onion and one jalapeno.

IMG_7212IMG_7213

When the gizzards are done boiling, rinse it under cool water and then drain all the excess liquid. Then marinate the gizzards in: 1 TB of minced garlic, 1/2 TB of sesame oil, and a dash of salt and pepper.

IMG_7214

Mix it thoroughly and let it sit for a bit.

IMG_7215IMG_7217

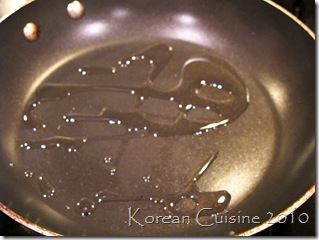
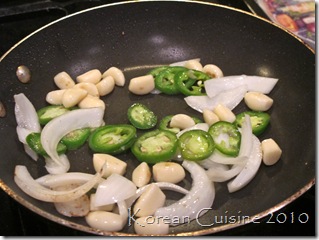
Drizzle some oil on a pan and let it get piping hot. First add your vegetables and stir away.

IMG_7218IMG_7220

After a few minutes, add the gizzards and keep frying until the garlic gloves start to brown.

IMG_7221

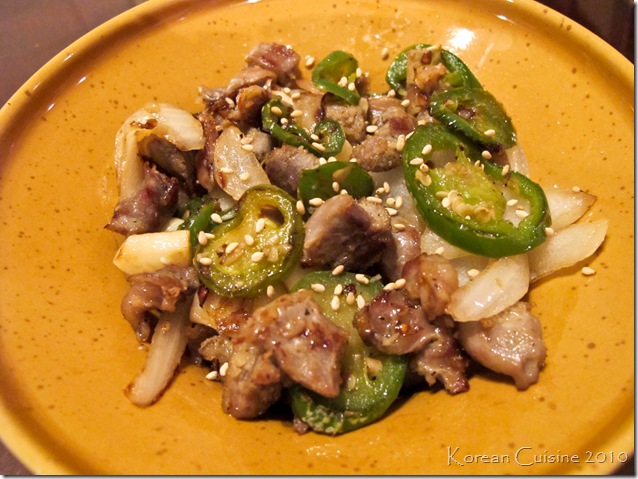
Voila! You’re almost ready to serve!

IMG_7223

Plate it and sprinkle some sesame seeds on top right before serving.

IMG_7225IMG_7228

I personally like dipping mine in a soy sauce/vinegar/wasabi mix. The MR, on the other hand, prefers the good old-fashioned sesame oil with salt and pepper.

IMG_7226

Enjoy! Like I said at the start of this entry. This is more of an *an-joo* which is an *appetizer* served at sool-jips (bars). The MR ate his with an ice cold Bud. =)

P.S. This is the first time I took food pictures with my G11 versus my 50D. My 50D was in my car and I was too lazy to go and get it so I decided to experiment with the G11 instead. Not bad at all for a P&S. =P